The Story of a Rug
Have you ever wondered how a rug is made, or rather, what happened from the design idea to the final rug?
Please join us in this trip to Nepal, where handspun wool, custom-dyed colours and weaving hands map the adventure of a rug’s life.
Step 1: Designing the rug
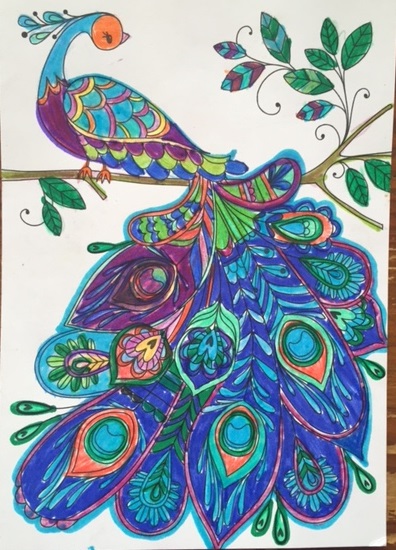
As always, everything starts with the idea. In most rug companies, it is the company that decides on the designs. But because we, as you know, are not like most interior design companies, here the design idea may even come from you, our dear creative customer.
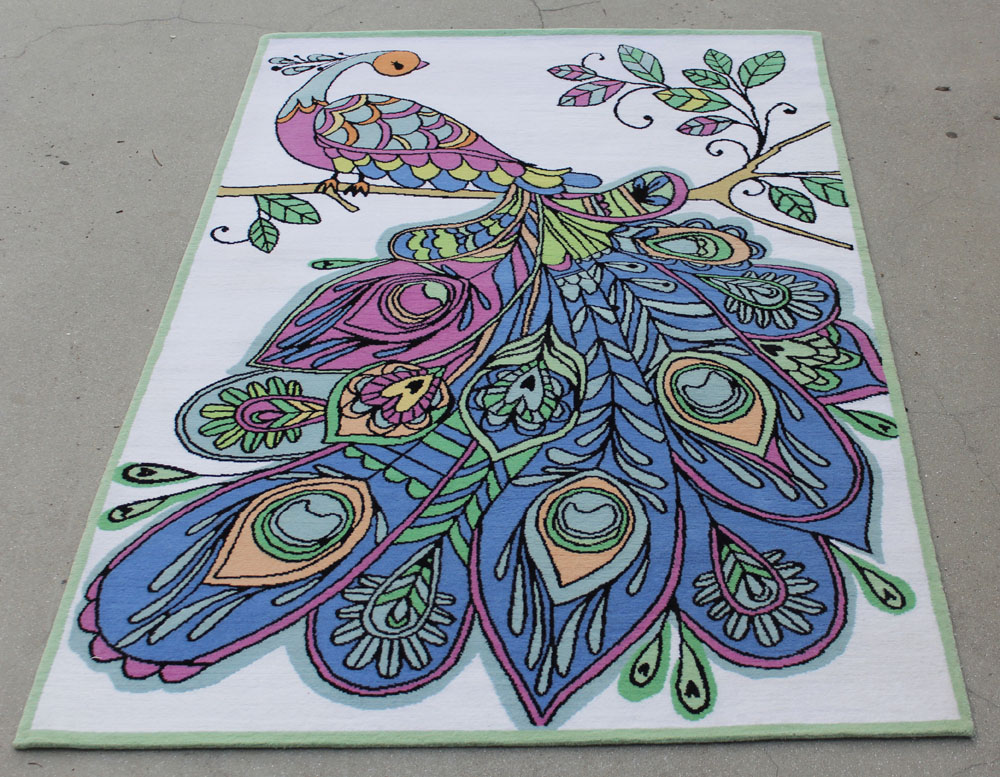
Here we show you the colouring page young Emillia coloured in and chose as her rug design.
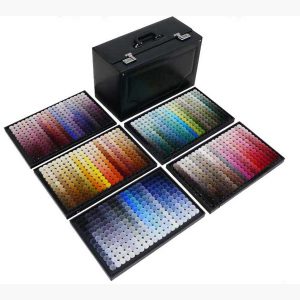
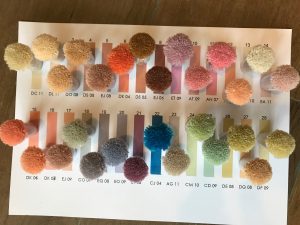
Step 2: Selecting the colours
The dye colours are chosen, either to be as close as possible to the original design, or to harmonize the room. We have over 2000 colours to choose from.
Usually we use actual dyed wool colour samples, such as ARS. But we also work with Pantone.
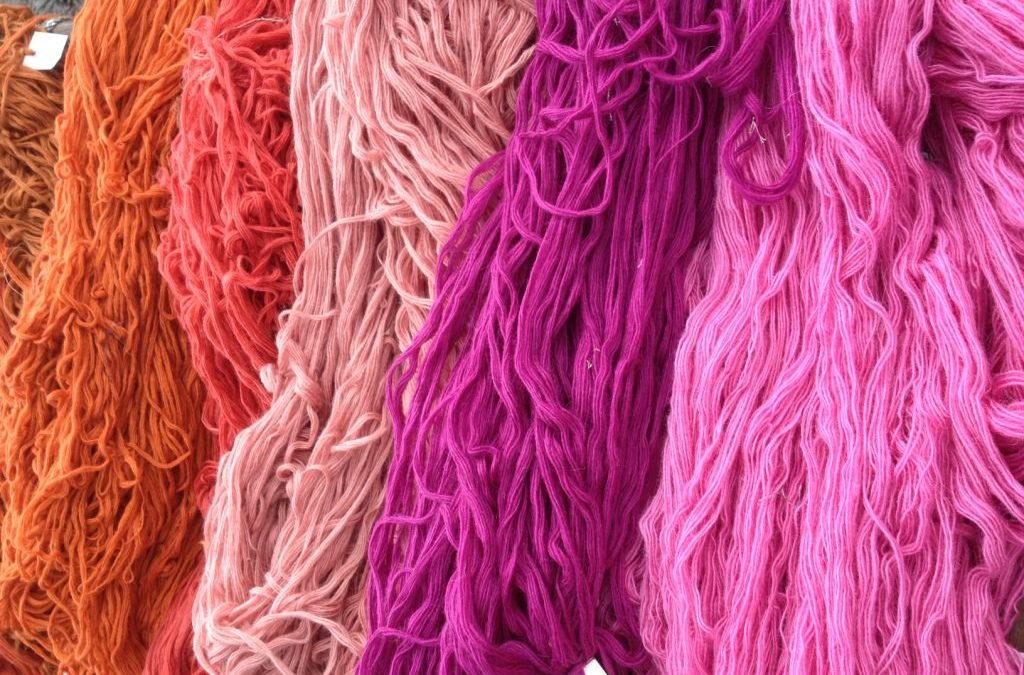
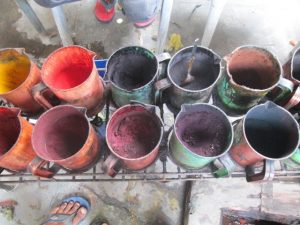
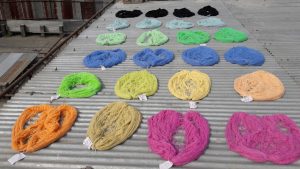
Step 3: Dyeing the yarn
The dyemaster prepares the magical concoctions that will become the perfect colours. Then the yarn is dyed by hand and in small pots and afterwards laid to dry outside.
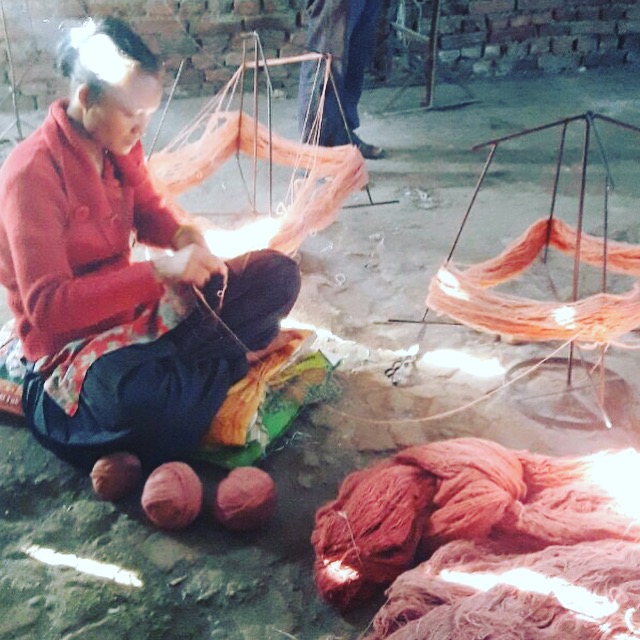
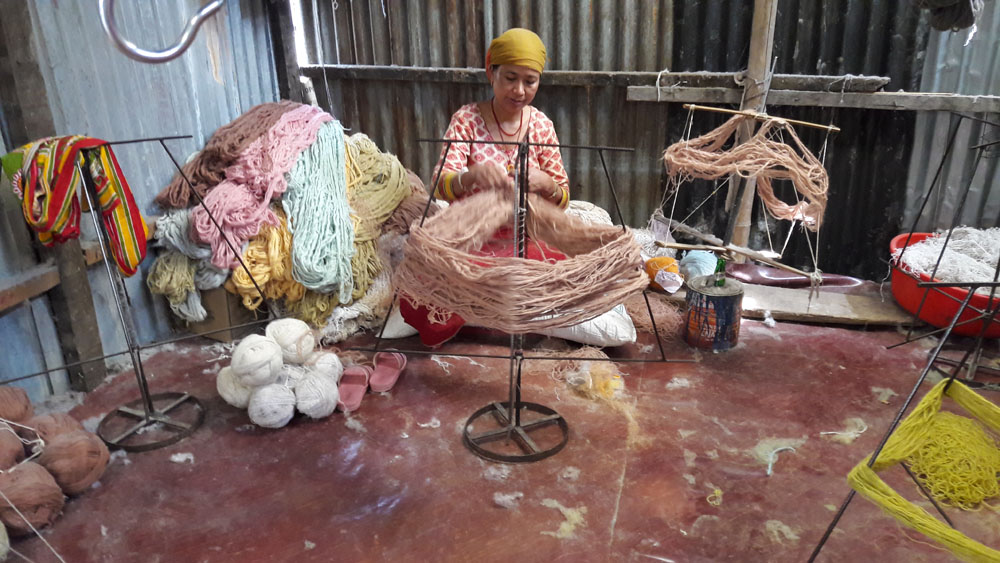
Step 4: Rolling the yarn
The skein of dyed and dry yarn is now rolled by hand into a ball.
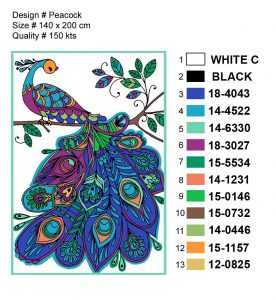
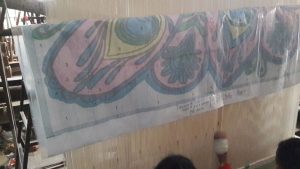
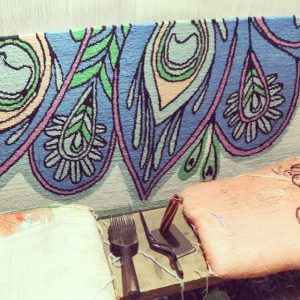
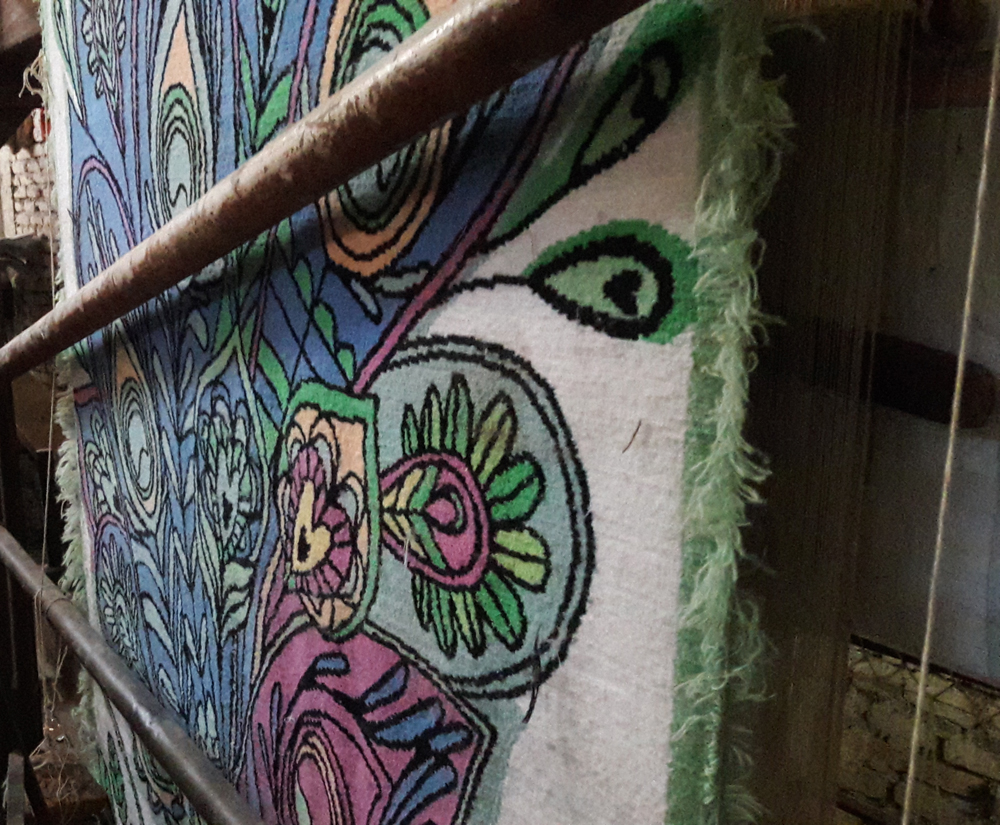
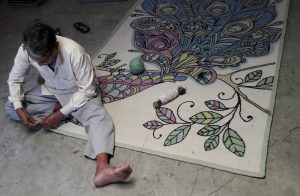
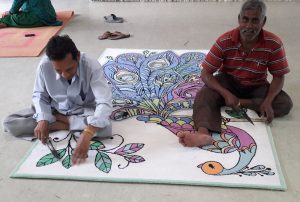
Step 5: Weaving the rug
Expert weavers start creating the rug, knot by knot. They follow the design map or weaving graph that has been carefully prepared in what seems like a magic trick.
Music on, giggles and quick skilled hands help them weave about 10,000 knots per day.
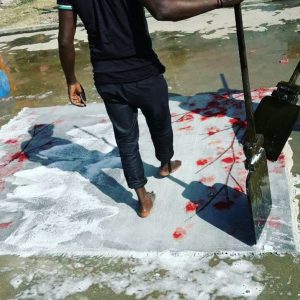
Step 6: Washing the rug
Once the rug is completely woven, it comes off the loom.
The next step is to wash it. We wash it with clear water only and avoid the use of any chemicals that would initially make the rug seem of higher quality than it actually is, but would harm the yarn. It is better to invest in high quality materials and let the rug shine in its natural long-lasting beauty.
Step 7: Stretching the rug
Now that the rug is clean and fresh, it is time for a nice stretch. This ensures the carpet will lay flat on the floor (or wall, if it is for hanging) and that all knots balance each other out. The carpet dries evenly in the crisp Nepalese sun.
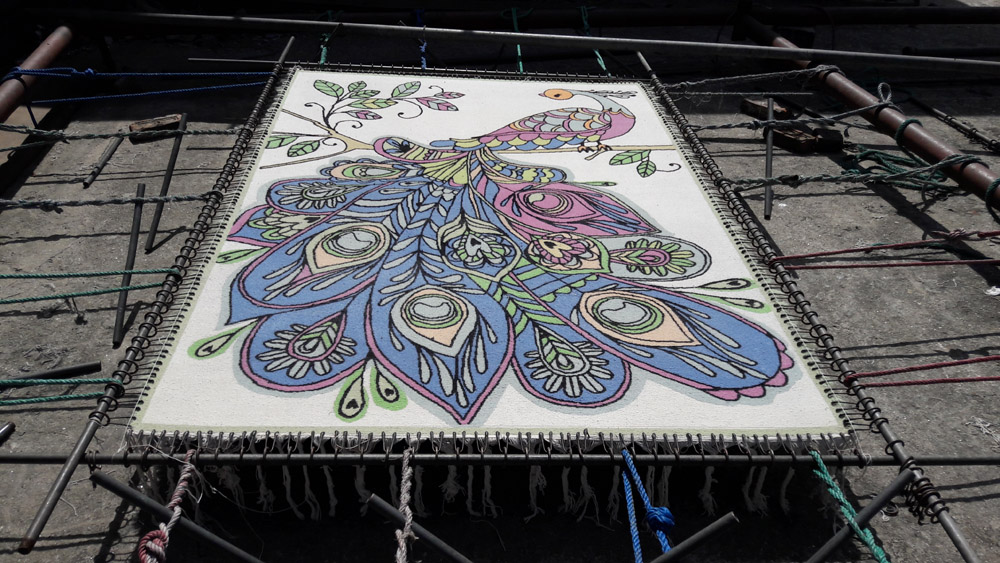
Step 8: Binding the rug
Now the rug is ready to be bound by our master binder. He will make sure all is even and will use the right colour for each part of the design.
In this example we are showing you, the border was green, so all the binding was done in the same yarn. If there was no border and the design had several colours until the edge, he would either change colour for every part or use one colour for all (customer’s choice).
Step 9: Clipping
The time has arrived for any yarn that is too long to be clipped. As many eyes as necessary will make sure this is done perfectly.
In this step, finishing texture touches like carving or embossing would be applied too.
Because the peacok rug we are following here did not have carving or embossing, here are some other examples.
Carving creates a thin distinction between the design elements by cutting a line between them. It is like tracing the design with the scissors:
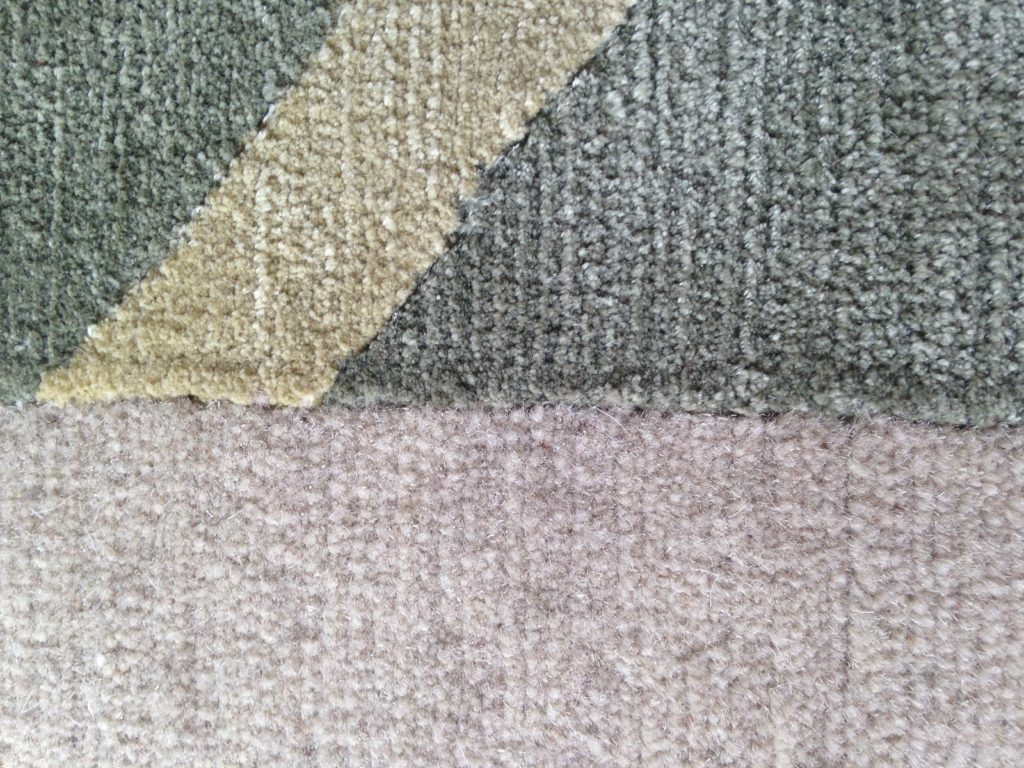
Embossing adds a deep second (or third) layer to the pile by clipping it shorter:

Step 10: Sending the rug
The rug is now completely finished and ready to be sent to the lucky customer.
If you’d like to see more from Rug Your Life. Please take a look at their website http://www.rugyourlife.com Please quote The Home Stylist discount code 2505 if you’d like to purchase a rug!